My wife Melissa wanted a desk for our apartment. Ideally a standing desk where she could set up her workstation whenever she occasionally works from home. Rather than going out and buying a new desk and using up space in our small NY apartment, I had a better idea. We would combine her wood working abilities--first inspired by her dad and brother's skills and later developed in high school wood-shop--with our new found ability to make things out of plastic (my family and I have our own passion for wood which I will get into in a separate post).
My initial attempt at describing my hybrid wood + plastic vision was met with skepticism by my dear wife so I knew I had to refine my pitch. I share some background and the pitch I used to obtain her sign-off and collaboration in the following section.
This is the first in a two part, wood + plastic series of things we made in 2018.
The background
We have a closet that goes on the wall of our bedroom. It was a well intentioned gift from my mom. A gift against which, I hate to admit, I was vehemently and mistakenly opposed at first. I thought it would be too bulky, did not think it would be worth installing given the short term nature of New York city leases, and was generally opposed to it from some misplaced sense of masculine independence that I can't quite explain and now thoroughly regret.
Since then I have told mom more than once that the closet was a great idea along with profound and heartfelt apologies. Melissa loves it, and I hope that making it the center of this post will continue to counteract my ill advised words and deeds (sorry mom!).
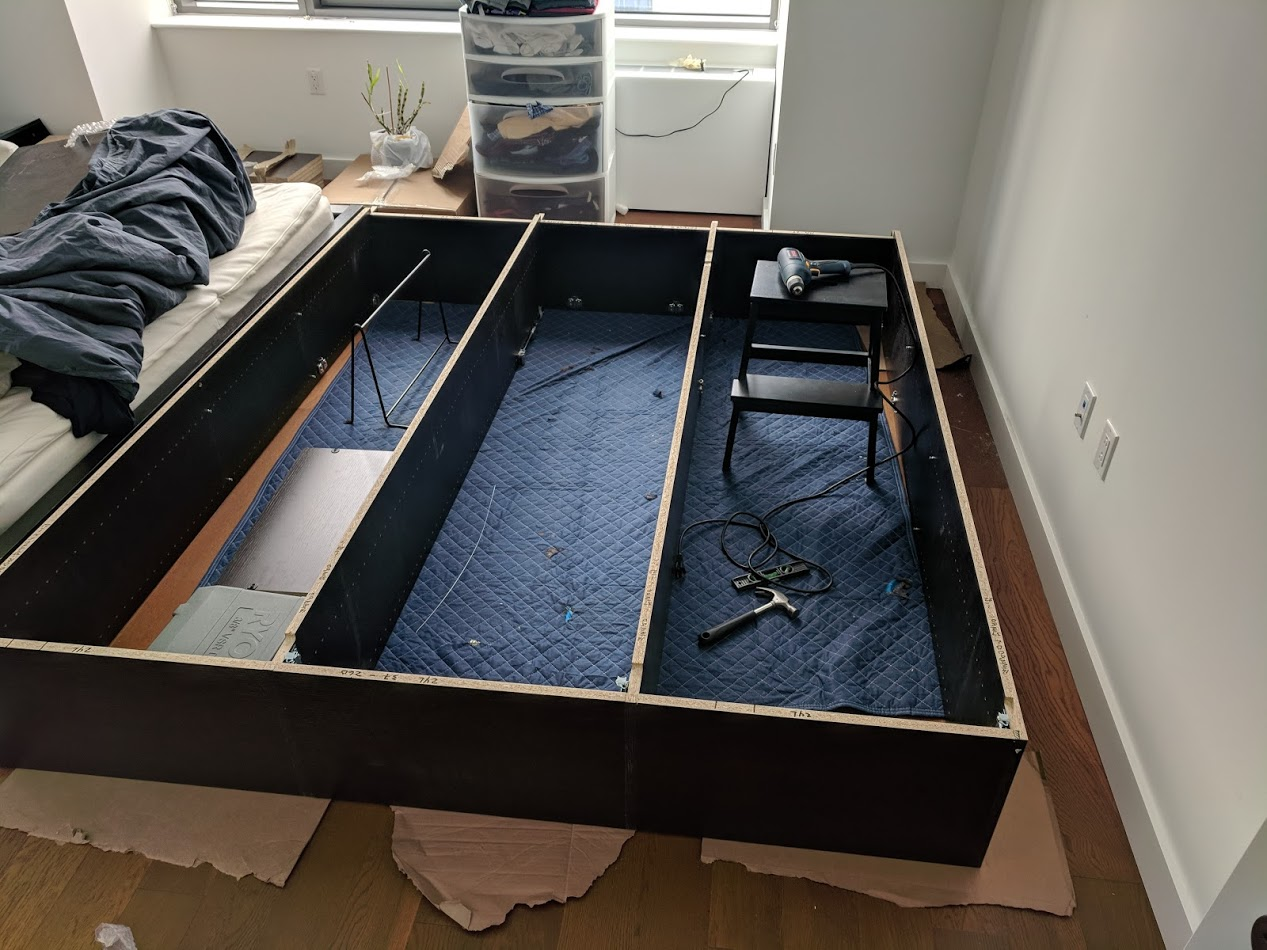
With some effort, we were able to transport and reassemble the closet to our apartment when Melissa and I got married and moved in together.
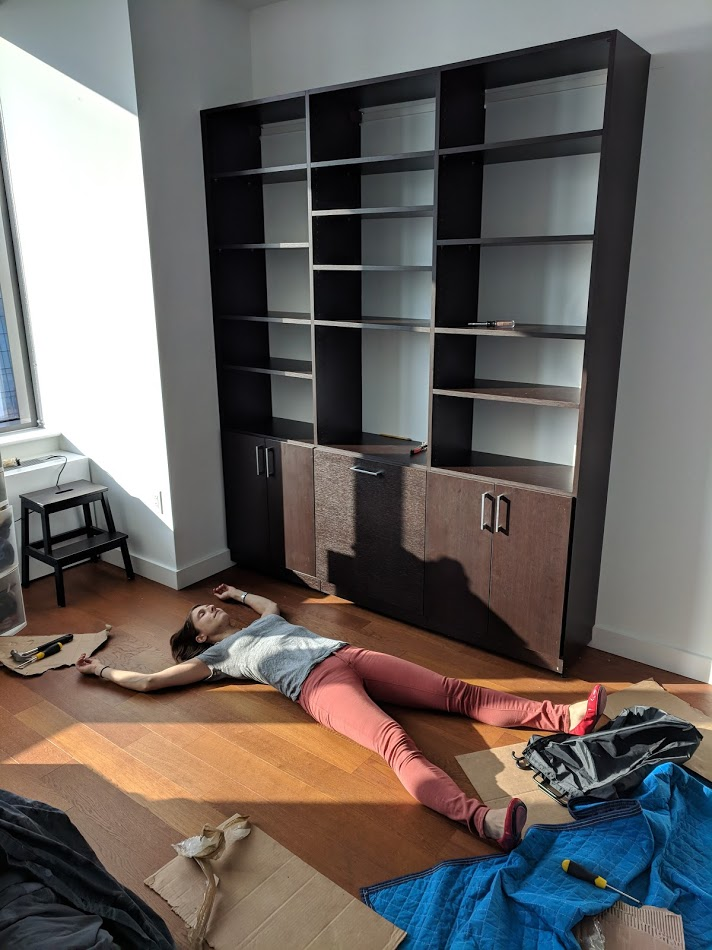
Here you can observe an exhausted but satisfied Melissa who lies star-fished on the floor below our lovely and successfully assembled closet.
The pitch
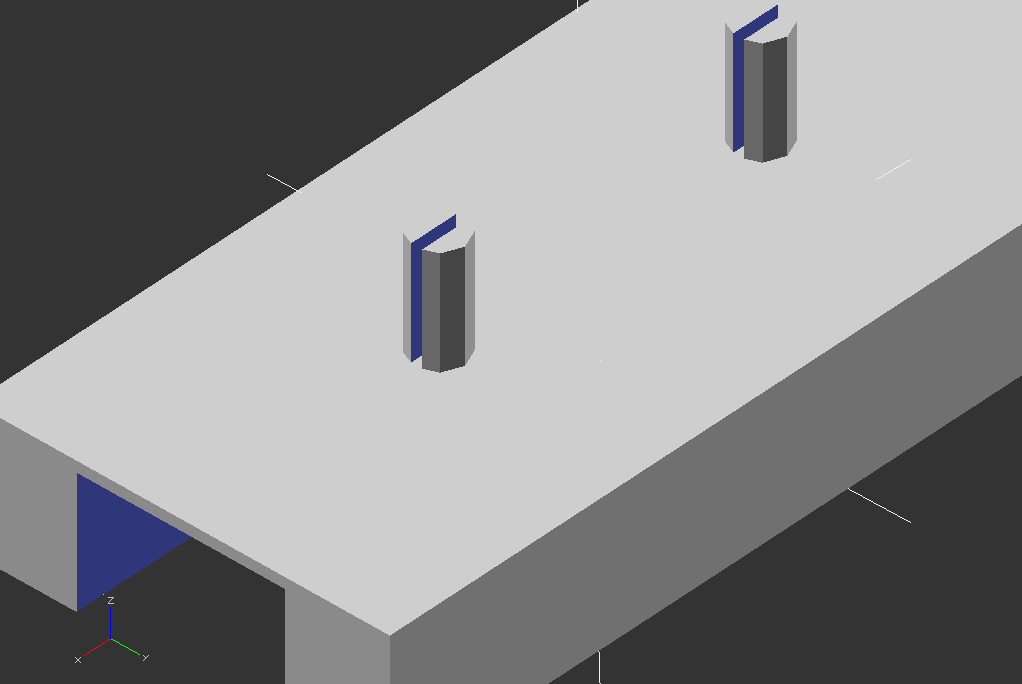
The concept was to craft a tiny standing desk that could either stick out of the closet when in use, or act as just another shelf when idle. It would rely on pegs [dowels] for support (the same mechanism that holds up the ordinary shelves in the closet) and its key feature would be 3d printed supports that would either create two surfaces for when the desk was retracted, or a sort of vertical drawer-like tracks that would support it when deployed.
I alluded to this mechanism on a previous post about 3d printing and mentioned the app (3DC.io) that I used to make the mock-up shown below:
It only took me a couple of minutes to craft the mock-up and once Melissa had seen how it would work with here own eyes, she was all in!
The bits
I used openscad to generate the 3d model, I can't stress how much I love this tool. The fact that uses a programmatic approach may be daunting to some but it really is a pleasure to work on.
Here's a snippet of the code I used to build the front supports:
inch  = 25.4;
pegDistance = 1.25*inch;
numPegs = 3;
margin=inch;
baseThickness = inch / 2;
pegRadius = 2.4;
pegHeight = 10;
channelWidth = inch*.75;

//Pegs
translate([margin,0,baseThickness]){
  for(i=[0: 1: numPegs]){
    translate([pegDistance * i,0,0])
      AddPeg();
  }
}

//base and support
difference(){
    length=pegDistance * numPegs + 2*margin;
    translate([0,-margin*.75,0]){
      cube([length,margin*1.5,baseThickness], center=false);
    }
    translate([0,-channelWidth/2,-1]){
      cube([length,channelWidth,baseThickness], center=false);
    }
}


module AddPeg (){
  difference(){
    cylinder(h = pegHeight, r = pegRadius);
    translate([-pegRadius,-.5,0])
      cube([pegRadius*2, 1, pegHeight]);
  }
}
You can see this time I used my own `module` and a `for` loop to add the pegs. Modularizing designs in this way is extremely useful when they have repeating features.
The slots in the dowels were meant to provide some give in case their radius did not exactly match the holes in the closet but I ended up finding that they weren't necessary and ended up making the dowels themselves rather brittle.
The atoms
I used PLA for this print and PLA is on the brittle and ended up having breaking one at one point. If I were to print these again I would use PLA+ from eSun. It prints a bit hotter but it's less brittle and generally easier to deal with. It's also quite affordable at around $20 per kilogram spool on Amazon and it's the only brand I've seen that ships with a refillable plastic spools. Once you have one, you can just buy the refills that slip right in, no risk of tangling up your filament.
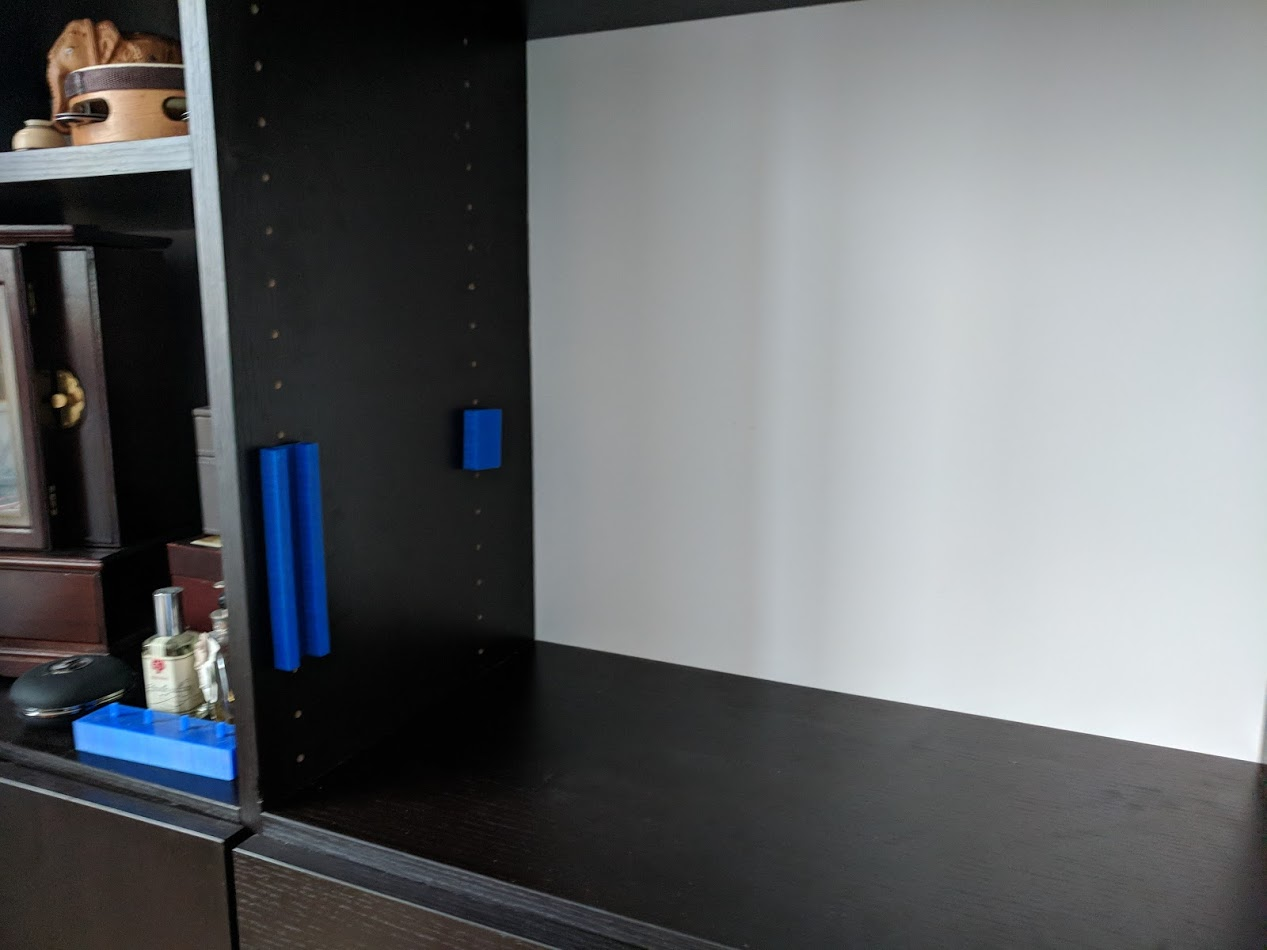
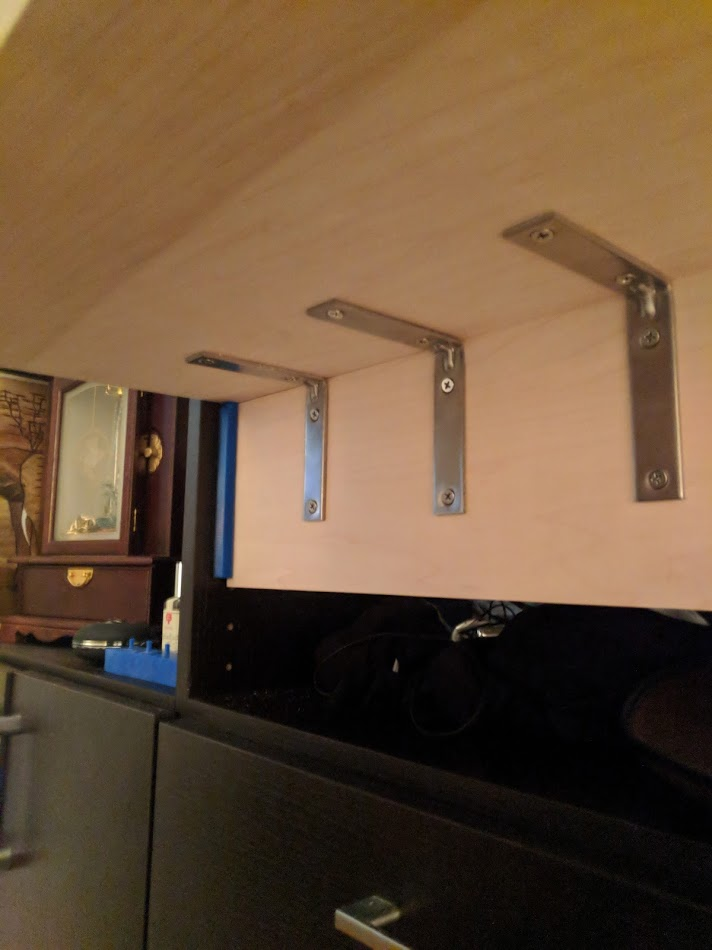
Here's a photo of the supports when we first mounted them on the closet.

It can be tricky to procure wood in Manhattan but we landed on a couple of good options. We needed someone that would cut the wood for us given the lack of power-tools and space in our Manhattan apartment. We used ordinary 3/4 inch Canadian birch plywood from Midtown Lumber and had it cut to fit the closet perfectly. The staff is friendly, they advertise their ability to help customers with DIY projects, are happy to interact over phone, email or in person, and are located very conveniently to us in Chelsea.
Unfortunately, I have found over time that their prices are inexplicably bloated (about 2-3x what I can find elsewhere in the NYC). I have since started taking the subway to the Upper West Side to Mike's Hardware and Lumber to procure wood for other projects, they do good work and will quote reasonable prices on the phone and also deliver for a fee (though they don't have a web site).
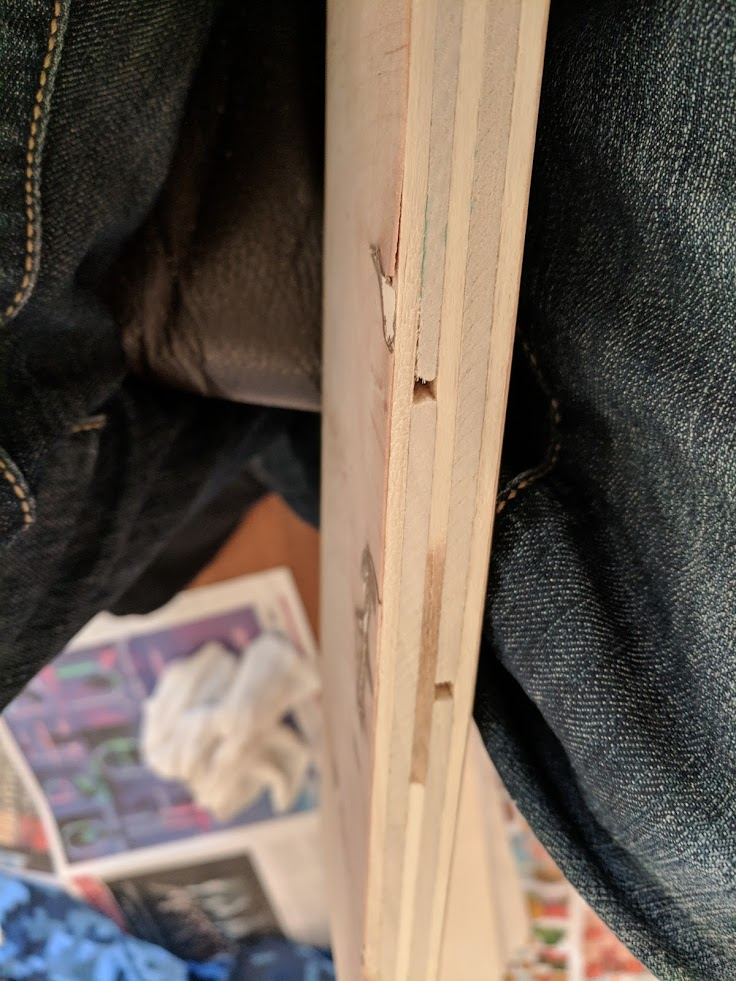
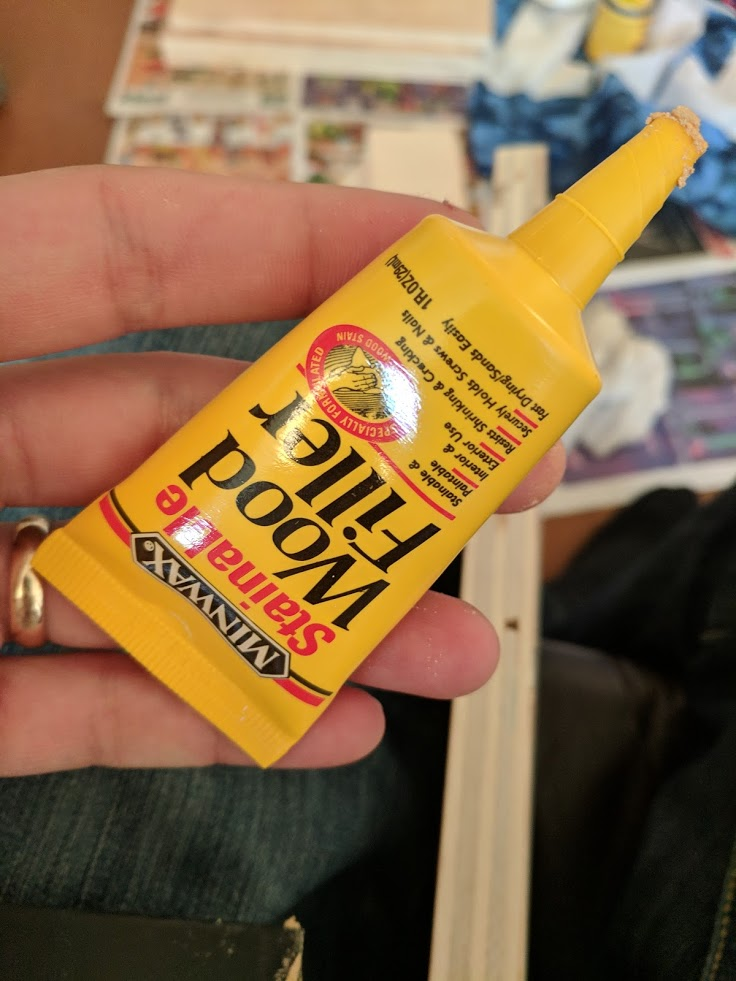
The plywood had a few gaps and imperfections so we used a bit of wood filler to fix them up:
We picked up some metal angle brackets and short wood screws and assembled the desk by mounting them on one side of the supporting structure as shown below:
As you can see, the desk slides right into the tracks. It left plenty of room for Melissa's macbook and can be adjusted to any height using the dowels.
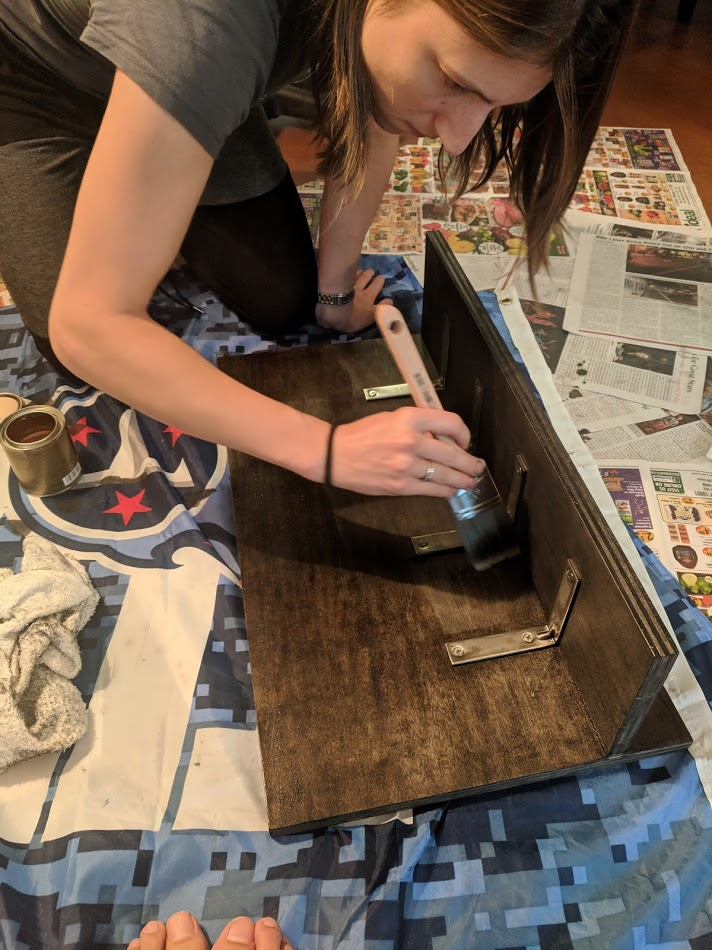
Once we were happy with the desk, we finished and stained it to match the look of the rest of the closet. This is where Melissa's woodworking experience came in handy.
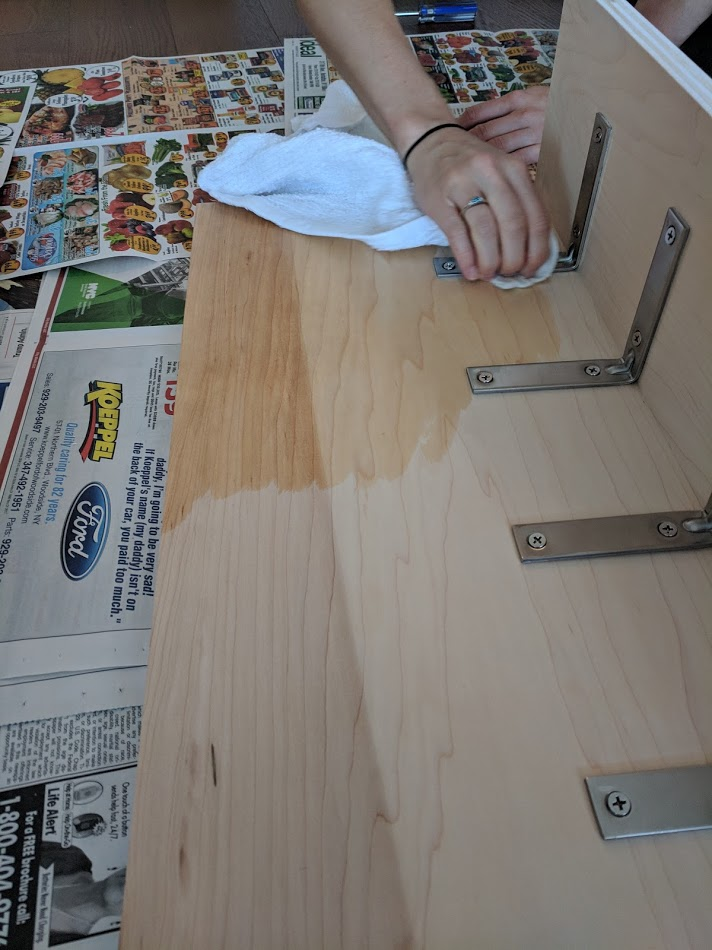
She used a rag to apply the primer. We used Miniwax pre-stain wood conditioner from our local hardware store.
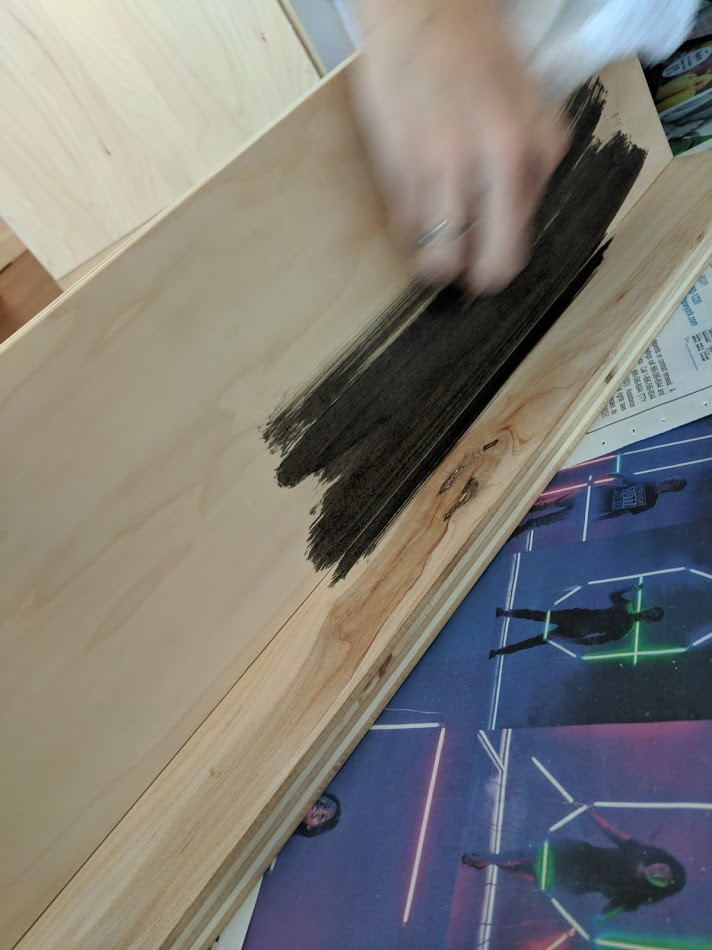
We picked the darkest stain at the store, Miniwax wood finish penetrating stane Ebony 2718 and applied 3 coats to get the darkness we needed to match the closet.
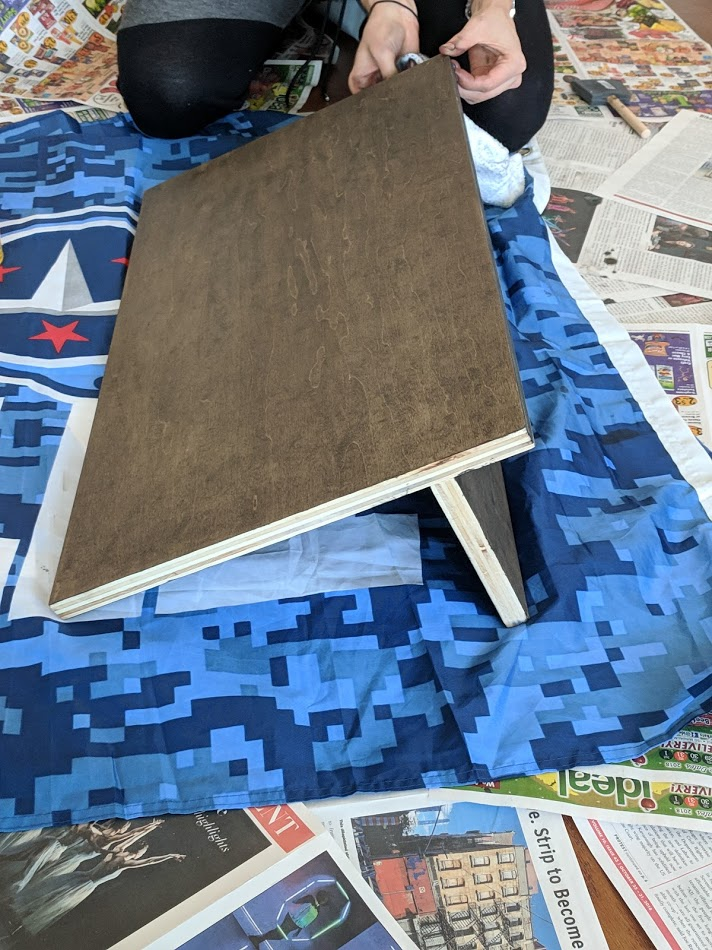
Finally she applied polyeurethene with a brush, careful not to leave bubbles.
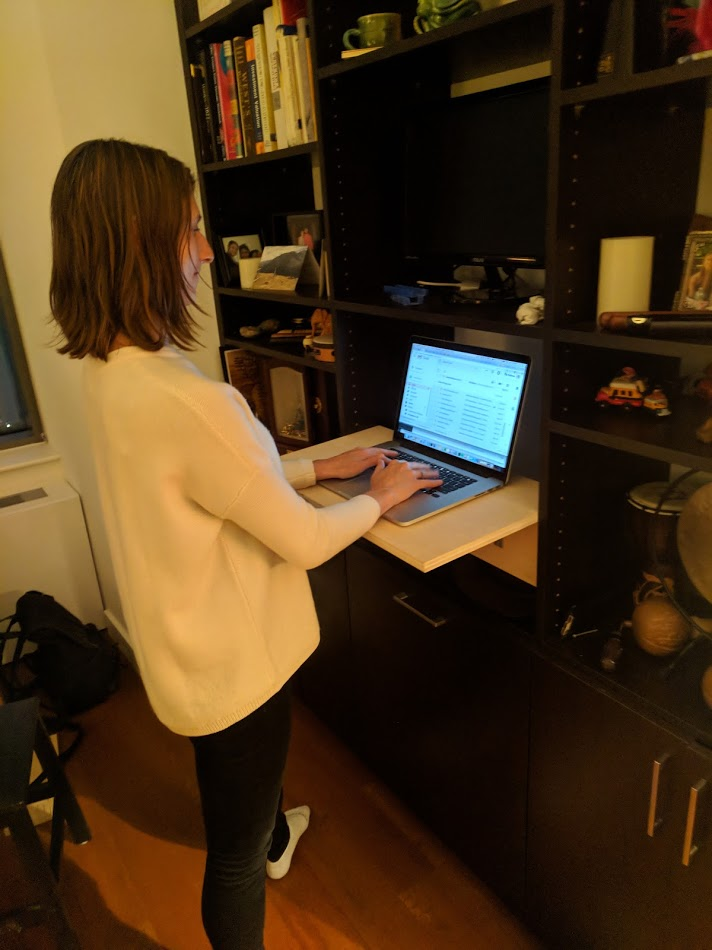
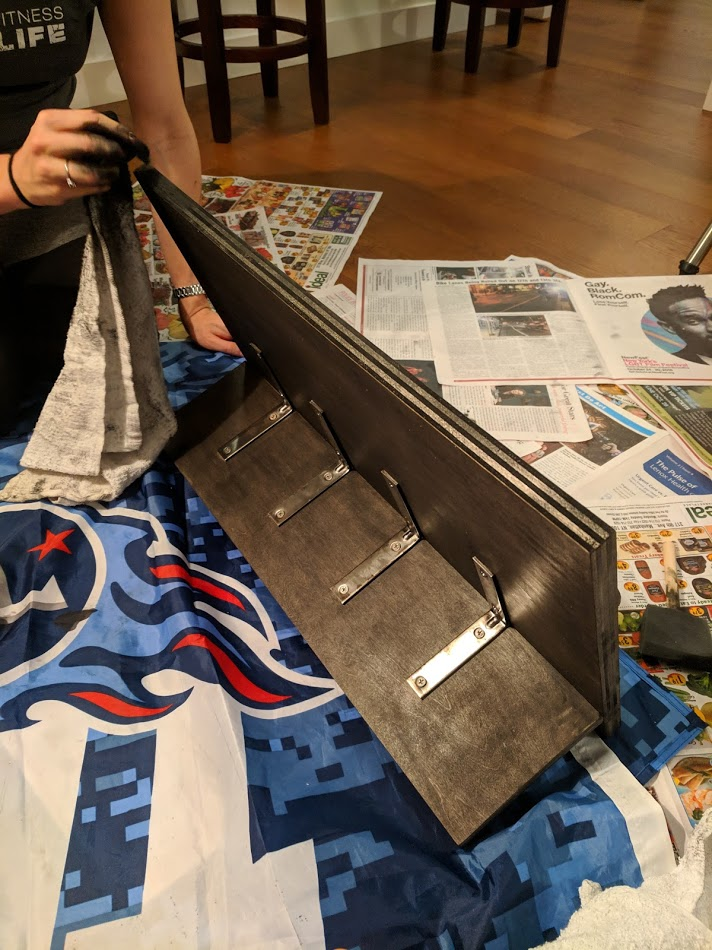
Here's a photo of the final product!
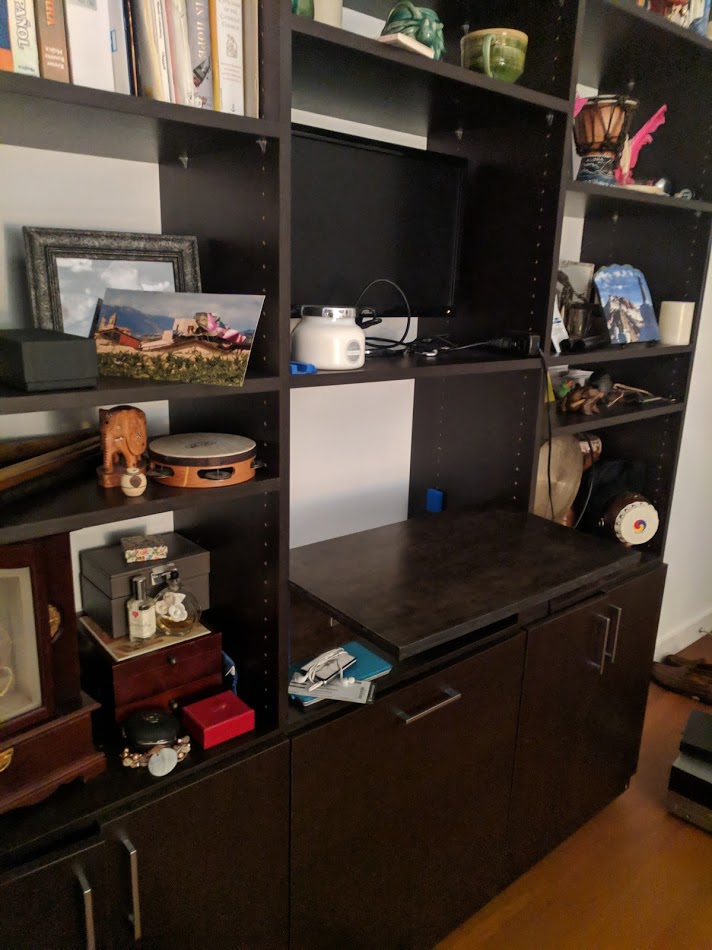
We were quite proud of this project. It was so simple and yet such a perfect fit for our needs. The entire thing cost us maybe $40 and we found working together on it much more satisfying than buying something at the store.
Sometimes the simplest projects are the best ones.