I've had this domain name and a few half written articles in my back pocket for a few months now. I decided to publish the first couple of articles to start off the new year and to try to keep adding content consistently throughout the year. Let's see how it goes.
Happy 2019!
Non flowery intro
I thought about writing some flowery prose on why I'm starting this blog but I decided it's pretty self explanatory. I'm sharing stuff I build for people I care about and the details / code examples / etc. on how I built them.
For context, I subscribe to the looser definition of the term hacking. The love part, well it's just your everyday caring, nice, not creepy love for my friends and family starting of course with my wife Melissa.
Now let's move on to the part with the plastic names and how I made them.
A bunch of plastic names
For our wedding, I had a few [love hacking] projects I wanted to do and they turned out to be a lot of work. I ended up craming a bunch of activities into the last few dozen hours before the wedding. Thinking back, we probably could have gotten away without expending that effort and additional stress. Especially when combining projects with big life events, it is important to remember that this is supposed to be fun and that we do it to make folks happy. Sometimes giving up on a project or simply running out of time is okay. I had a bunch of help from my fiance (now wife) and from my sister to make this project happen. Fortunately in this case, the results were timely and quite satisfying!
Making plastic names
Melissa knew I had been wanting to get into 3d printing and got me a lovely printer for my birthday. One of the first projects I took on was to create the name cards for our wedding. Here's a photo of the final result:
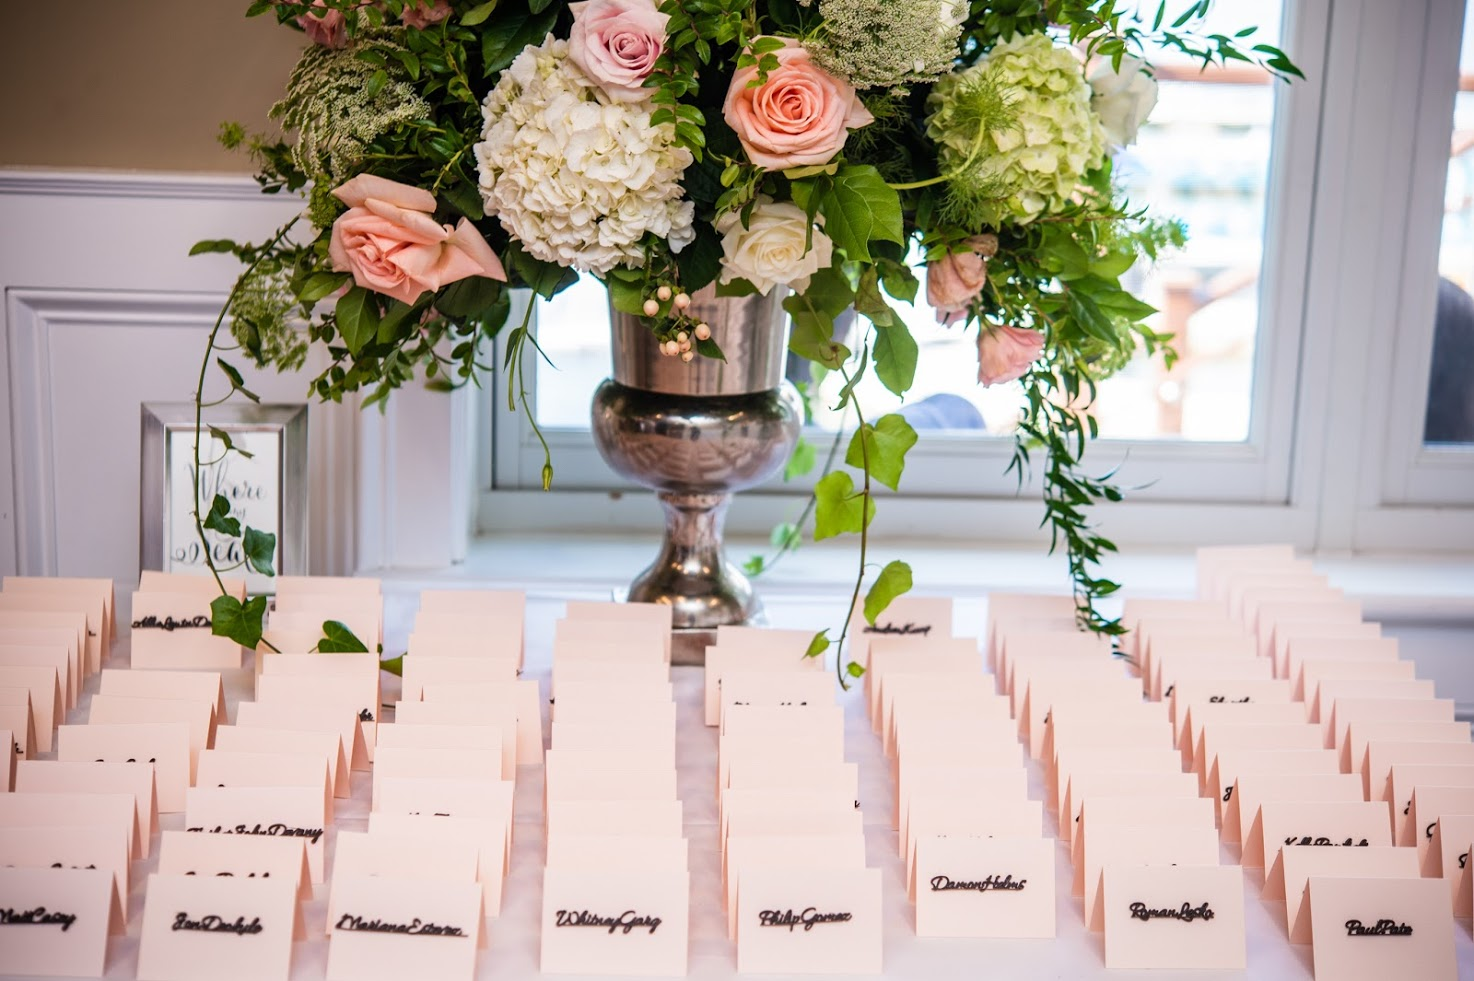
If you can't tell from this vantage point the little names are made of plastic and were glued on to our guest's seating cards.
Side note on the printer
Some day I'll get Melissa to guest blog on criteria for picking your first additive manufacturing device. For now know that mine's a pretty nice one with a solid metal frame, a heated bed, and a nice sized print area. Even though I did not have to build it myself and it came practically ready to print out of the box, it was a bit tricky to use at first.
Fortunately there are many resources on the internet that helped me get going. One of the main factors that helped start producing successful prints was finding this website by someone that uses the same printer I have (thank you Dr. Lex for sharing your wisdom and your 3gx generator).
I did a quick write-up on how 3d printing works and included some of the software I use for printing that might be relevant for the unfamiliar before continuing. Check it out HERE.
How?
We had about 150 guests that attended the wedding and the first step was generating 3d models of their names. I knew I needed to make my solution as automated as possible. This made running OpenScad in headless mode an attractive option.
OpenScad supports the `text` function. It takes a text string and generates a 3d shape that you can then extrude and manipulate.
Here's what the code looks like to spell my name in 1mm thick 3d letters, font size 10:
t="Sebastián Estévez";
size=10;
text(t, size = size);
Which results in the following model:

It even supports importing custom fonts to achieve the desired look and feel. A good resource for free fonts is the google fonts repo on github.
Here's my name using Allura-Regular
use </home/tato/Downloads/Allura-Regular.ttf>
t="Sebastián Estévez";


size=10;
spacing=.92;
text(t, size = size, font = "Allura-Regular", spacing=spacing);
At this point I had my POC just needed to iron out the details. As usual, these "details" ended up taking up 80% of my time and effort. The main challenges were connecting letters, rounding edges, and parallelization.
Connecting letters
Depending on the name, the letters may or may not touch (and hold together as one) I didn't want tó have to glue more than one thing to the name cards, and even considered printing out clips or stands for the names.
I also wanted a way to have first names and last names tied together in a single part.
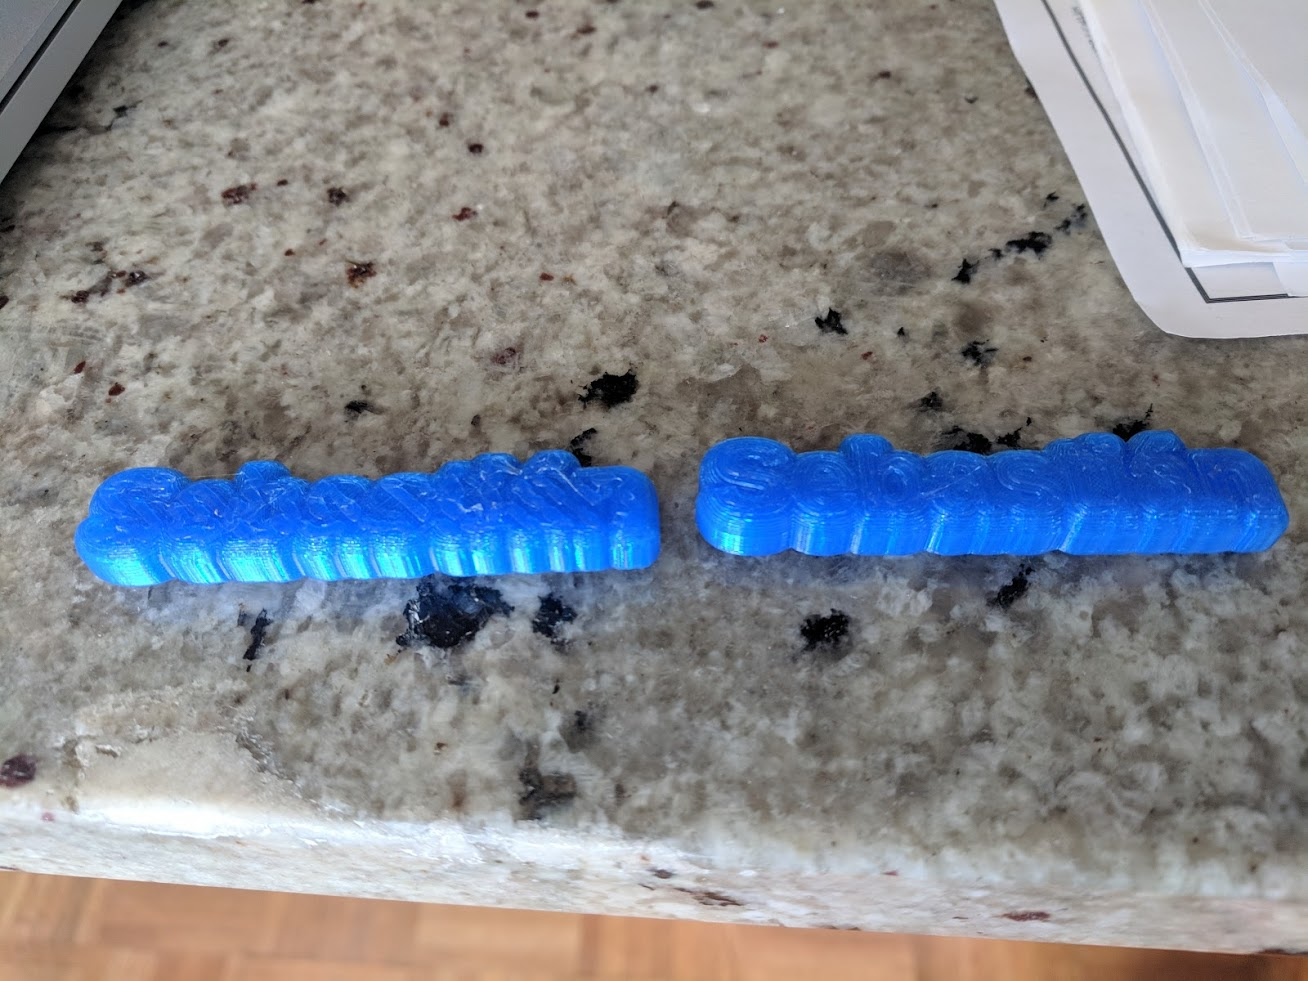
My initial take was to use bold bubbly letters that would smush together:
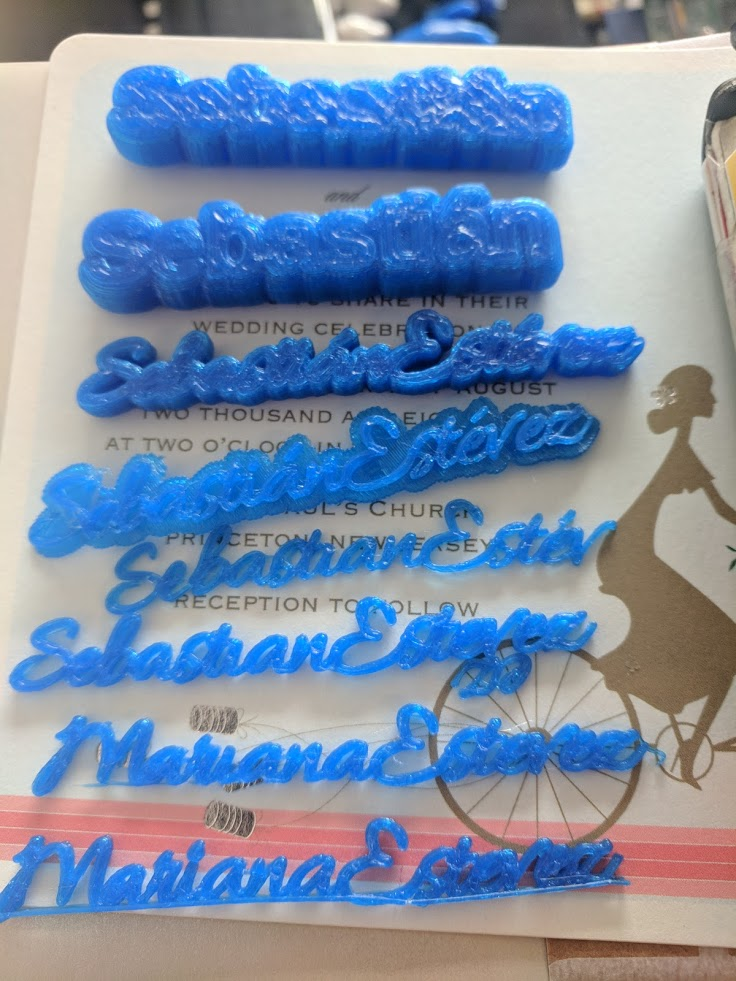
They weren't super legible and didn't fit Melissa's aesthetics so I decided to go with something cursive and added a sort of underline to hold it all together. You can see my progression in the series of photos below:
The trick to get the underlines is that not all characters in a given font occupy the same amount of space. For a quick demonstration, here's 50 i's and 50 m's:
iiiiiiiiiiiiiiiiiiiiiiiiiiiiiiiiiiiiiiiiiiiiiiiiii
mmmmmmmmmmmmmmmmmmmmmmmmmmmmmmmmmmmmmmmmmmmmmmmmmm
The right solution to this problem would have been to measure the length of the generated text and use that length to create the line underneath it. Unfortunately, this is not currently possible in OpenScad, see issue 1768.
What I ended up doing was starting with an average length per letter, multiplying by the number of letters and adding or subtracting a fudge factor based on the experimentally obtained lengths of the wider and thinner letters in the font I was using.
An important point about OpenScad is that it uses compile time (not run time) variable assignment. If variables are set more than once in a script, the final value is used in the entire script execution. Furthermore, variables cannot be used in their own assignments (this will result in an undefined compile time error). In practice this means that I ended up creating a globalFudge factor that was composed of the sum of a few letter specific fudge factors. A bit ugly but it worked.
I deliberately erred on the side of printing an underline that might be a bit longer because they are pretty easy to physically snip off with pliers once the print is completed.
Here are some examples of my fudge code:
mSearchArray=search("M",t,0);
fudgeFactor=len(mSearchArray[0]);
...
...
...
iSearchArray=search("i",t,0);
fudge5= fudge4 - len(iSearchArray[0])/4;
Needless to say, a different font would likely need it's own fudge factors.
Rounding edges
I really wanted the names to be smooth and rounded in the corners. In reality, I ended up printing the names relatively small and with my printer resolution of about .2mm it probably did not make that much of a difference in the prints. Additionally, it added significant time to the generation of the models (not only during design but especially during rendering).
On the bright side, the technique I ended up using to make the rounded edges is interesting and will probably come in handy at some point so I don't consider it a total waste of time.
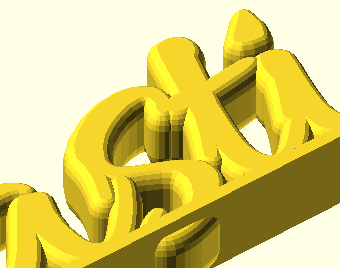
The nice soft edges above are obtained by generating a sphere and basically rubbing it around the outside of the text. You can also think of it as placing a copy of the sphere centered at every point pixel that comprises the text.
This is called a Minkowski Sum and is conveniently available as a function in OpenScad.
minkowski(){
linear_extrude(height = height)
    text(t, size = size, font = "Allura-Regular", spacing=spacing);
scale([1,1,1.5])
    sphere(r=radius, center=true);
}
Parallelization
As you can see in the htop output below, computing the sum is time and CPU consuming and is limited by the fact that openscad is single threaded.

In order to print our 150 guests in time, I ended up doing some multi process parallelization in bash and running them accross my home lab cluster. The minkowsky sum is also memory intensive so I did have to keep my overall core count down to avoid failed jobs and "sacrifice child" entries in `dmesg`.
#!/bin/bash

set -x

#Stop any openscads that are running
ps -ef | grep -i openscad | grep output | awk '{print $2}' | xargs -r kill

#names.txt should have a name in each line
readarray -t NAMEARRAY < names.txt

echo "There are ${#NAMEARRAY[*]} names"

cores=3
i=0
while [ $i -lt ${#NAMEARRAY[*]}  ]; do

    j=0
    while [ $j -lt $cores ]; do
        index=$(( $i + $j ))
	NAME=${NAMEARRAY[$index]}
        if [ ! -z "$NAME" ]; then
	    echo "generating " $NAME
            cat name.scad | sed "s/^t=.*/t=\"$NAME\";/" > model-${NAME}.scad
	    openscad -o output-$NAME.stl model-$NAME.scad &
        fi
        j=$(($j + 1))
    done
    wait
    i=$(($i + $cores))
done
Next steps?
If I find myself doing more render intensive model generation, I might step my game up and stand up a k8s service for OpenScad.
That's it for today folks, hope you enjoyed my first post!